
How to prick off
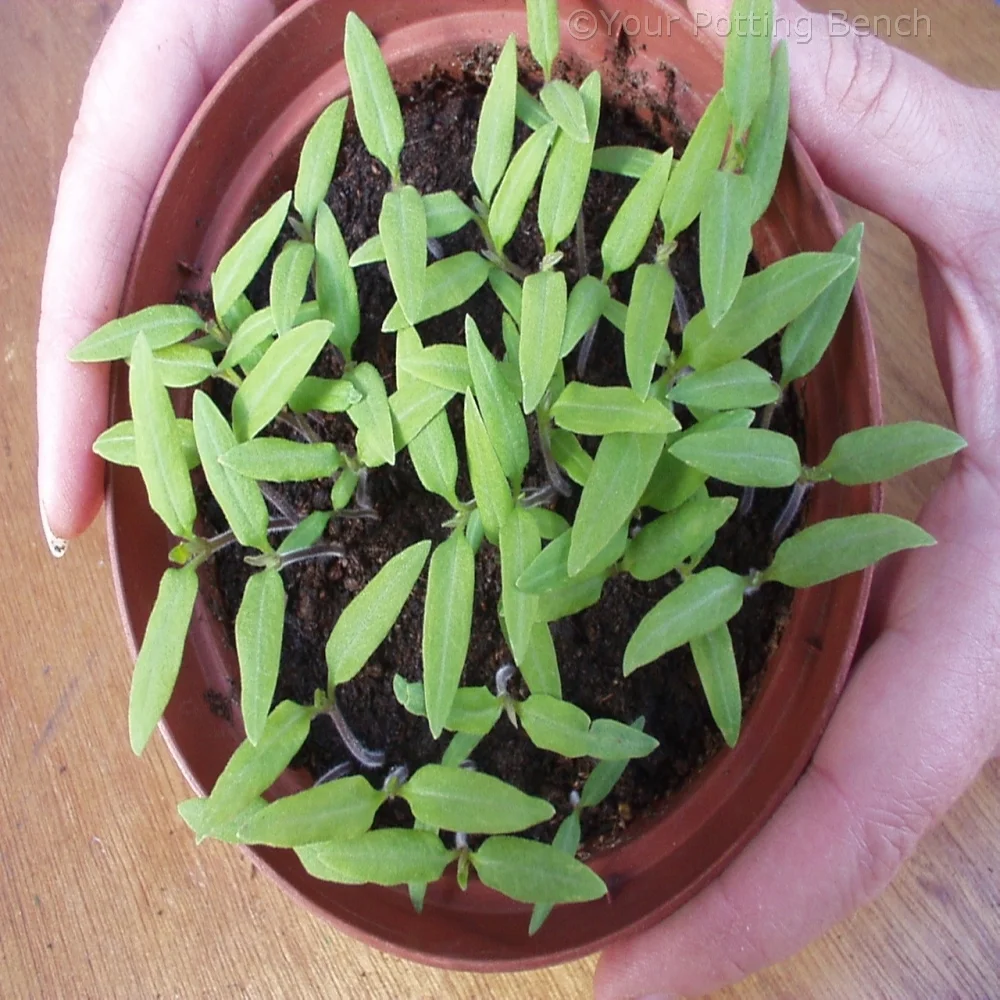
Sowing seed, like these tomatoes, in a pot or seed tray is space-efficient, but there will come a point when the young seedlings need to be moved into individual pots so they have the room to continue growing.
Best time to do it
Jan
Feb
Mar
Apr
May
Jun
Jul
Aug
Sep
Oct
Nov
Dec
1
The first leaves produced by a new seedling are called 'seed leaves' and usually look different to the later 'true' leaves of the plant. Once the seed leaves have fully expanded, you can safely begin to repot them.

2
Use a dibber or pencil to gently ease the seedlings out of the compost. Only ever handle them by holding a leaf. Break the leaf and it will grow another: break or bruise the stem and the seedling may die.

3
Still holding the seedling by a leaf, lower the roots into a hole in the new compost. Do not press the compost down around it, simply tap the side of the pot gently with the flat of your hand.

4
Water gently to settle the compost around the roots and get the seedlings off to a good start.