
How to pH Test Soil
It is important to know the pH of your soil before you plant. Some plants prefer more acidic soil (lower pH) and some plants prefer alkaline (higher pH). Home testing kits are readily available and are easy to use.
Best time to do it
Jan
Feb
Mar
Apr
May
Jun
Jul
Aug
Sep
Oct
Nov
Dec
1
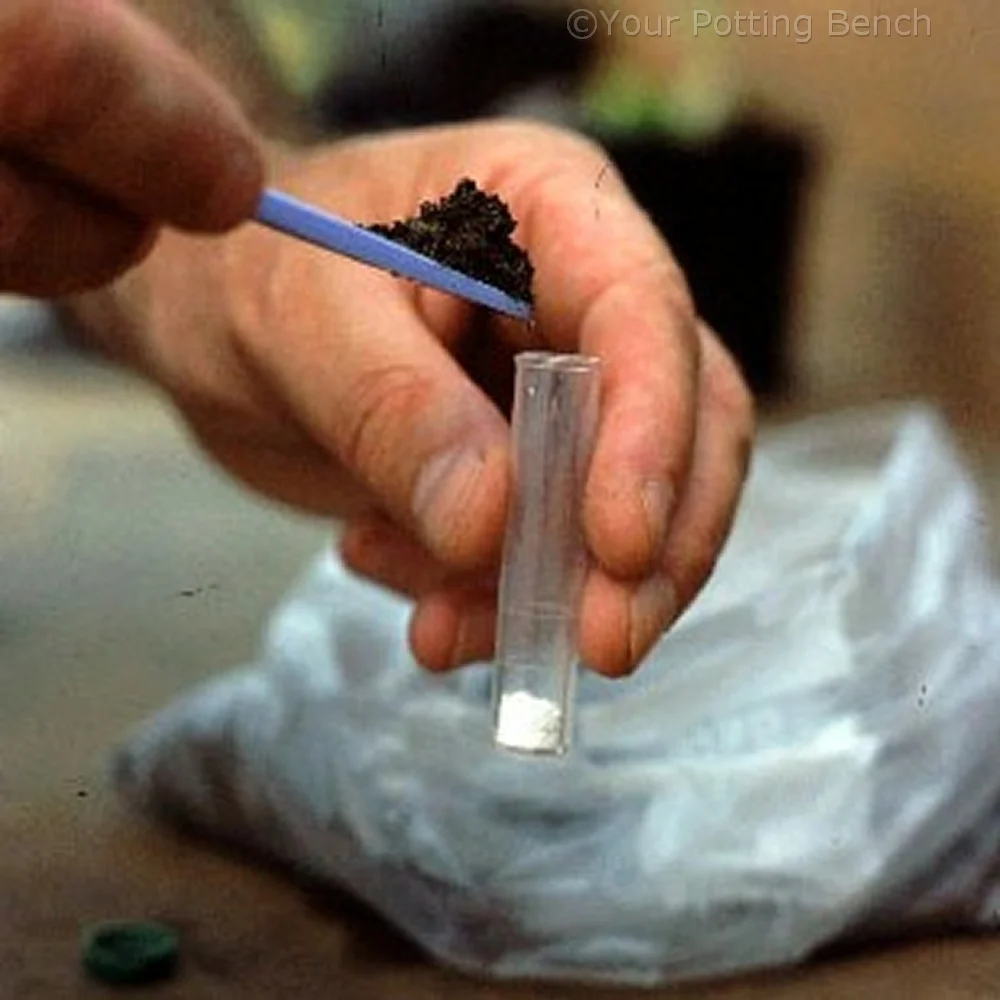
Take a sample of soil from 10cm below ground level in the area you wish to plant and place it, with the indicator chemical, in the testing tube.

2
Add the required amount of de-ionised water to the tube to make a solution.

3
Seal the top of the tube and shake the contents well for several minutes. Then stand upright and allow the mixture to settle for at least 30 minutes.

4
Once the mixture has settled check the colour against the pH chart. The red end of the spectrum is acidic, green is neutral and blue to purple is alkaline.